Installing Portable XAMPP
By H Silvia testserver, workflow
The portable version of XAMPP allows you to run a local server from a flash drive. This allows you to move your server from computer to computer. You will want to set this up if you are enrolled in any face to face web development classes, especially the CMS for Web Development class. If you are taking courses online, then using the instructions in Installing XAMPP will suffice. The instructions listed below will be useful for students that need to move between computers often.
Important: Right now, XAMPP Portable is only available for Windows PC. But if you have a Mac, there is a work around. Install the local server on your machine. Then if you ever need to work on another computer, copy /Applications/xampp/htdocs and /Applications/xampp/mysql. Then on the other machine or on a portable version running on a flash drive, paste those two folders into the appropriate place. This will recreate your server and site files.
Install Portable XAMPP for Windows
First, browse to Apache Friends and hit more downloads. Then pick one of the versions in the Windows folder. You typically don’t want to pick the newest folder because they aren’t always the most stable. I normally pick the latest from the previous series. So if the latest version is 8.2.4 then I will go to the latest version with a seven in front.
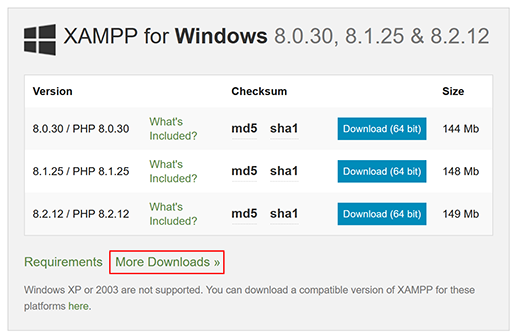
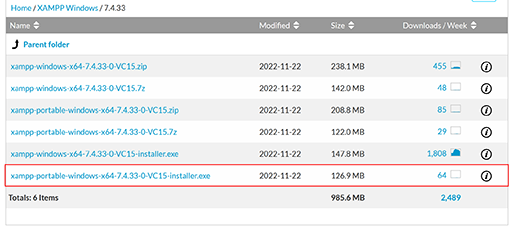
When you pick the version you want to use, find the EXE installer file with portable in the name.
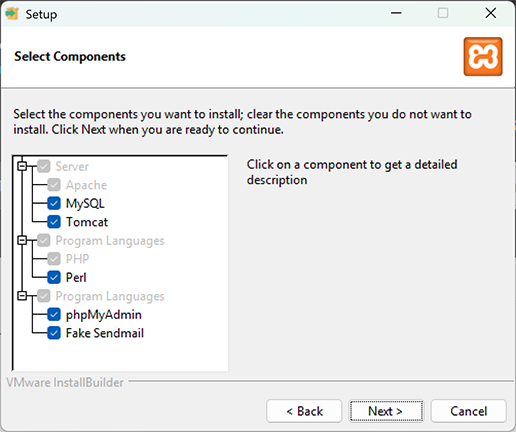
Make a new folder on your flash drive called XAMPP. Then run the file you downloaded. Go through the installation. When it asks you about selecting components, make sure every is checked then hit next and continue through the prompts.
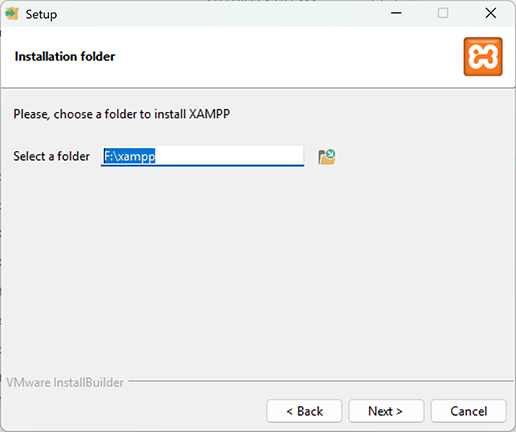
When it asks you where to install the software, select the XAMPP folder you made. Note that if you install this somewhere else, you need to point it at an empty folder.
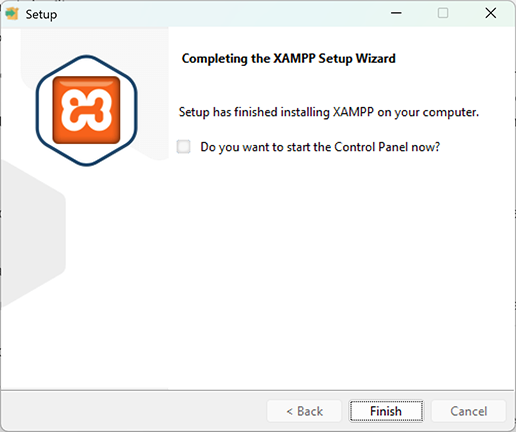
Continue the installation process. Once it is finished, uncheck starting the control panel and hit finish.
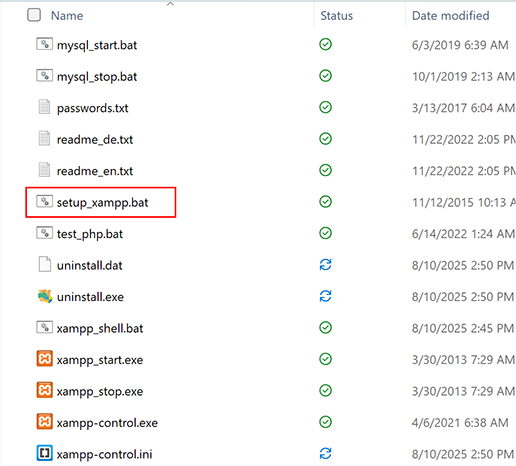
Now go to the folder you installed the software in. Find the file setup_xampp.bat and run it.
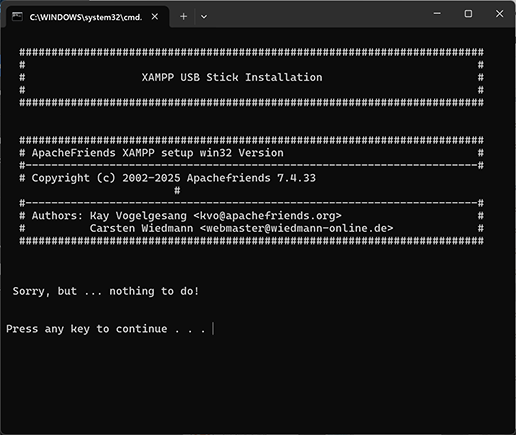
Theoretically this should have been run during installation but sometimes the file doesn’t execute. This ensures it does. If the file was run during installation the console will likely tell you there was nothing to do. That is fine. Either way, let the file do its job, then hit any key to close it.
Important: Since you are installing these on flash drives, you will need to run setup_xampp.bat every time the drive letter changes. This doesn’t mean you’ll have to run it every time you plug into a new computer. Every time you plug into a new computer, go to the file explorer and just check what letter was assigned to your flash drive. If you don’t know if the drive has a different letter now, just run the file to be safe.
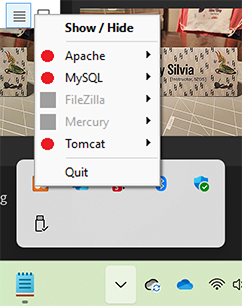
To start your server, run the file xampp-control.exe. Start Apache then start MySQL. When you are finished, stop MySQL first, the stop Apache. Something to keep in mind, is that even if you close the control panel, it is still running in the background. So, if you try to eject your flash drive it won’t let you. Go down to the taskbar and show hidden icons (the arrow). You will see the XAMPP logo. Right click on it and click Quit. If it gives you an error message, just use the task manager to force quit. You will also want to go here if you need to start the server again. You can either hit Show/Hide to bring up the control panel or start Apache and MySQL directly from this menu.

Now that you have set up your portable drive, you will still want to configure it. Those details are laid out in Configure PHP.