Installing XAMPP
By B Lingafelter testserver, workflow
This quide is written for XAMPP 7.4.8 with PHP 7.4.8 and contains separate instructions for downloading and installing:
IMPORTANT: Verify that you do not have an older version of XAMPP already installed. If you do, first run the uninstaller c:\xampp\uninstall.exe on Windows (or /Applications/XAMPP/uninstall.app on Mac) to completely remove it before installing a newer version. Be sure to backup any existing files in htdocs and export any MySQL databases from phpMyAdmin that you don't want to lose before uninstalling.
Install XAMPP for Windows
First, browse to Apache Friends and download the xampp-windows-x64-7.4.8-0-VC15-installer.exe file for Windows. 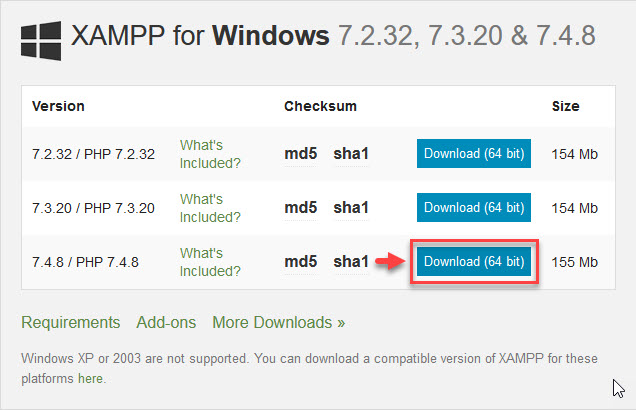
If 7.4.8 is not listed in the immediate downloads then click, More Downloads at the bottom of the box and find the appropriate folder.
Now install XAMPP using the defaults.
- Close all open applications and double-click the xampp-windows-x64-7.4.8-0-VC15-installer.exe file to run the installer.
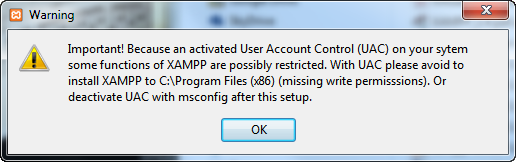
- If you see the Windows UAC warning message shown below, click OK. You will not be installing XAMPP in Program Files folder, so this will not affect you.
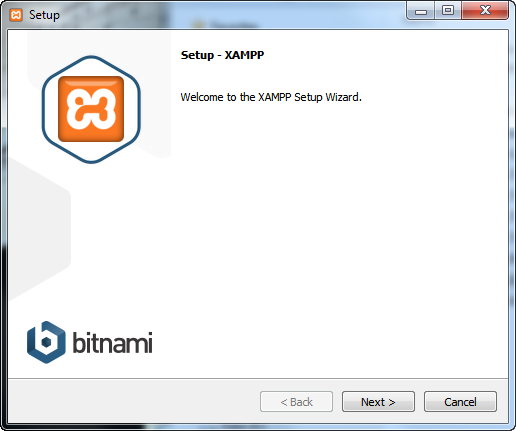
- When the Setup Wizard appears, click Next to start the installation.
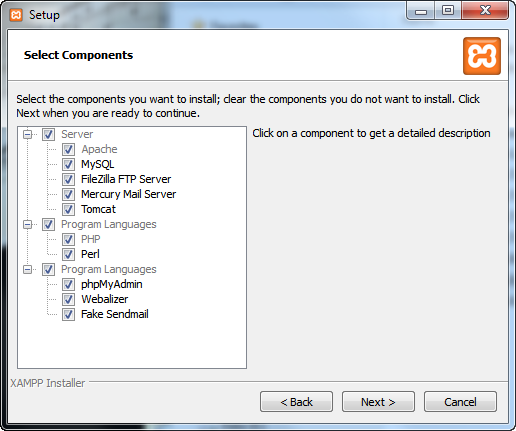
- With all components selected by default, click Next.
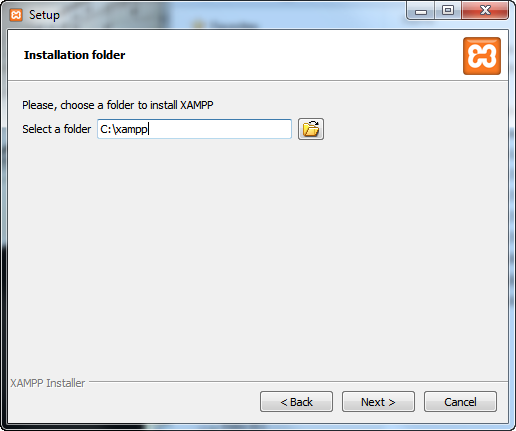
- Accept default location of c:\xampp and click Next.
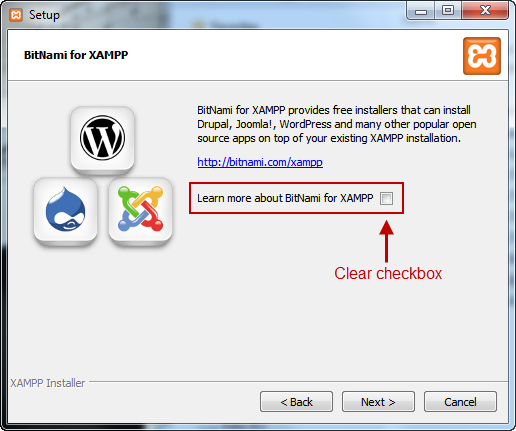
- Clear the Learn more about BitNami for XAMPP checkbox and click Next.
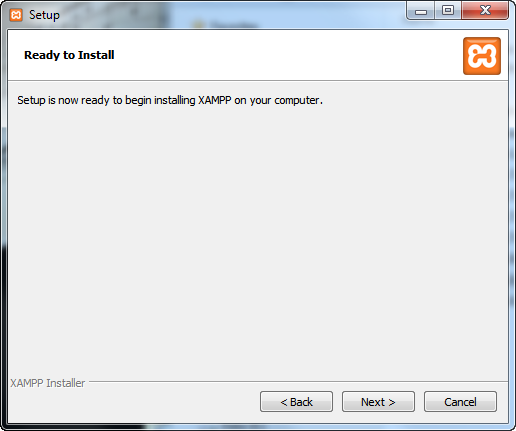
- Click Next to begin installing XAMPP.
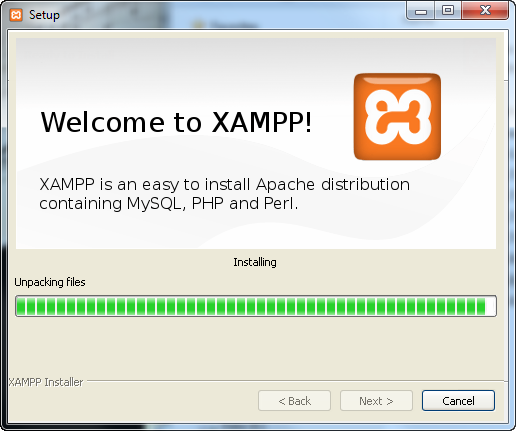
- The install will take a few minutes.
- When the installer is finished, click Finish to start the XAMPP Control Panel.
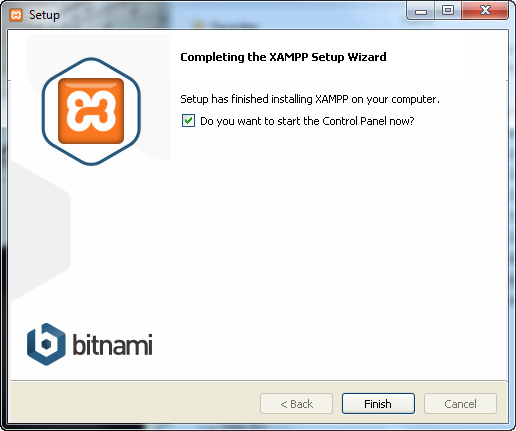
- You can choose not to open the XAMPP Control Panel at this point. To open the XAMPP Control Panel later, double-click the XAMPP Control shortcut on your desktop (if one exists), or go to Start > Recently Added and click XAMPP Control. You can also open File Explorer and navigate to the C:\xampp\xampp-control.exe file. For easy access, I recommend pinning to Start menu (right-click XAMPP Control in Start or the xampp-control.exe file).
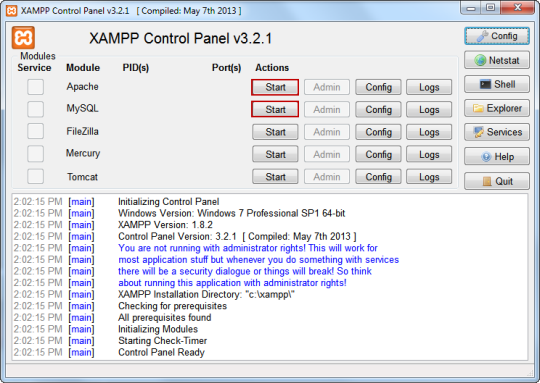
- In the XAMPP Control Panel, click Start button next to both Apache and MySQL.
IMPORTANT: The first time you start Apache and MySQL servers you will see a Windows Security alert message. Be sure to click Allow Access (Unblock) on local network for both Apache server and MySQL server. - In a few moments, you should see PID/Port information next to the module that's now running, and the Action button will now be labeled as Stop button. (Start/Stop is a toggle button.)
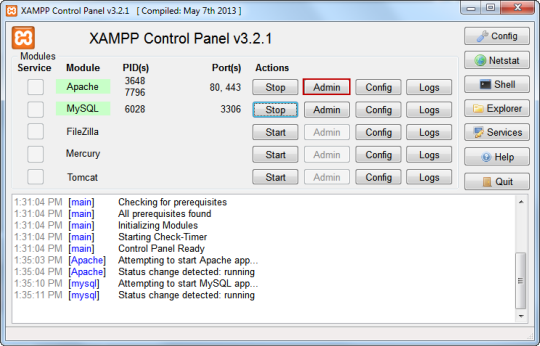
- VERY IMPORTANT! Unless you have a valid reason to do so, DO NOT mark the checkboxes on the far left of the Control Panel which would allow components to run as a service (Apache, MySQL). This does mean you'll have to open the XAMPP control panel and manually start Apache and MySQL servers when you need to use them, but you are also much less likely to have conflicts with other applications or servers that use one or more of the same ports.
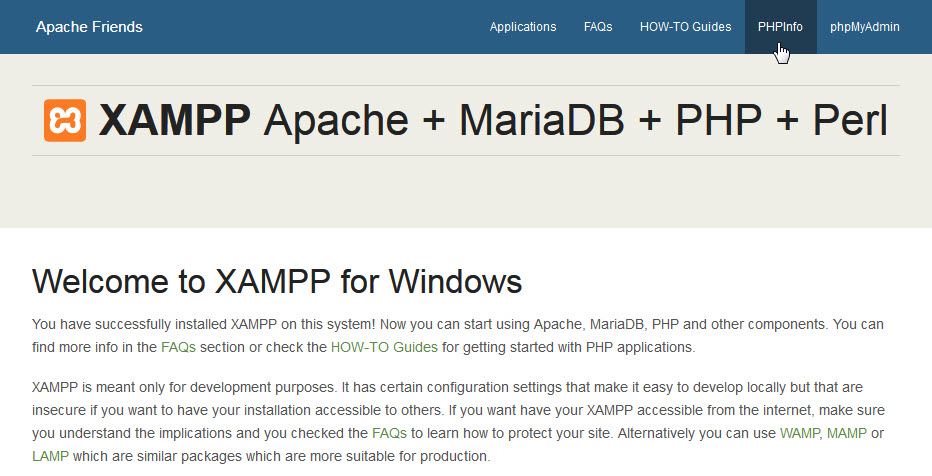
- To test the install, click the Admin button next to Apache to open the XAMPP for Windows page in your default browser.
Alternative: You can also type http://localhost in address bar of a browser to open the XAMPP Administration page. - Choose English if prompted for language.
- If the XAMPP for Windows page (shown below) is displayed, the install was successful and you're ready to move on.
- Stop both Apache and MySQL servers in XAMPP Control Panel.
- To hide the XAMPP Control Panel, leaving it in Notifications area, click the Close "X" button (upper right).
- Click Quit button to close XAMPP Control Panel and remove it from Notification area.
- You are ready to Configure PHP.
- If you receive any error messages when starting the servers, review the XAMPP Windows FAQs page for help.
Install XAMPP for Mac OS X
First, browse to Apache Friends and download the xampp-osx-7.4.8-0-installer.dmg disk image file as shown below.
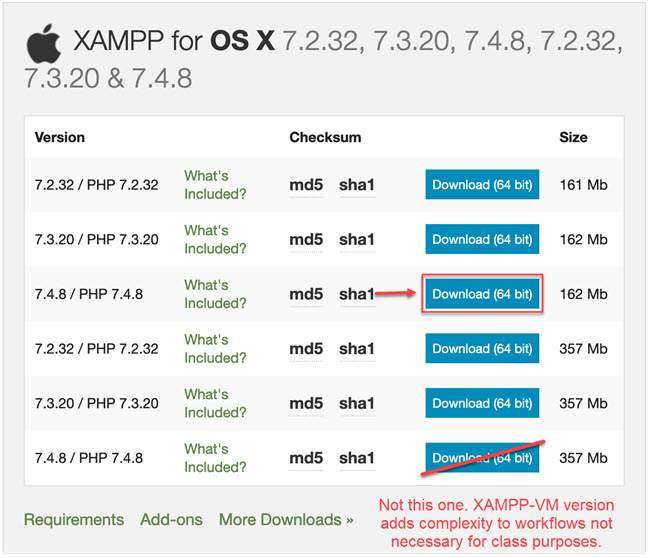
IMPORTANT: Do not install the XAMPP-VM version xampp-osx-7.4.8-0-vm.dmg. The virtual machine version is twice as large and adds complexity to all your workflows that is unnecessary for class purposes. Class instructions do not include specifics and differences for the virtual machine version.
If 7.4.8 is not listed in the immediate downloads then click, More Downloads at the bottom of the box and find the appropriate folder.
Now install XAMPP using the defaults.
Now install XAMPP using the defaults.
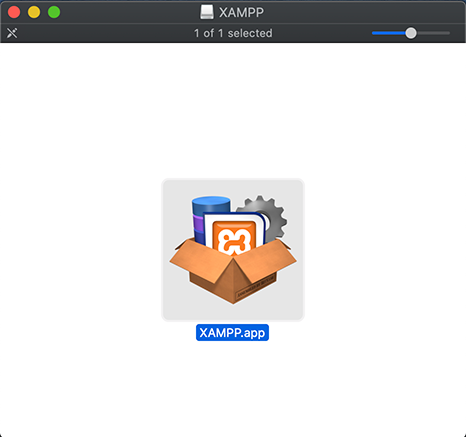
- Use Finder to locate the downloaded disk image and double-click the xampp-osx-7.4.8-0-installer.dmg file to mount the installer.
- Double-click the XAMPP.app icon and enter your system password when prompted.
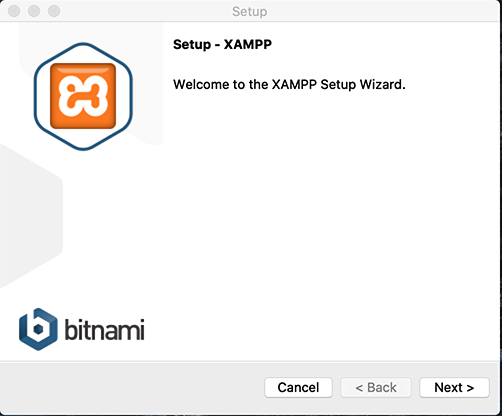
- When the Setup Wizard appears, click Next to start the installation.
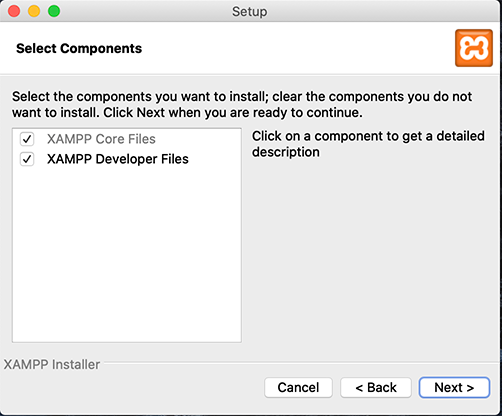
- When prompted, choose to install all components and click Next.
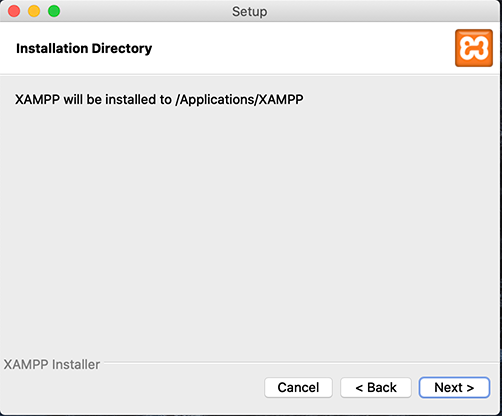
- Accept that XAMPP will be installed to the default location, XAMPP folder in Applications, and click Next.
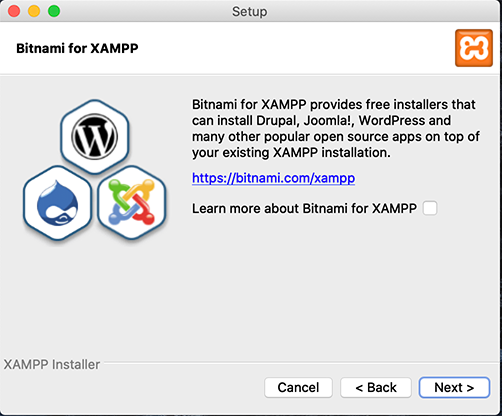
- When prompted, clear the Learn more about BitNami for XAMPP checkbox and click Next.
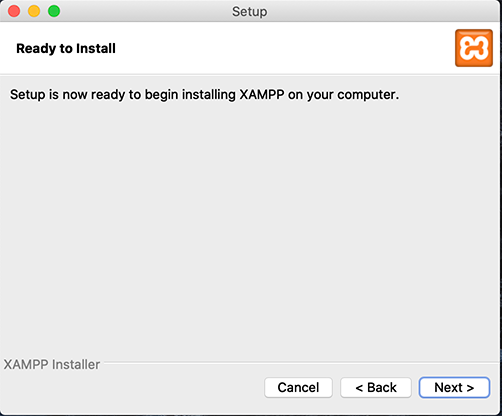
- Click Next to begin the installation.
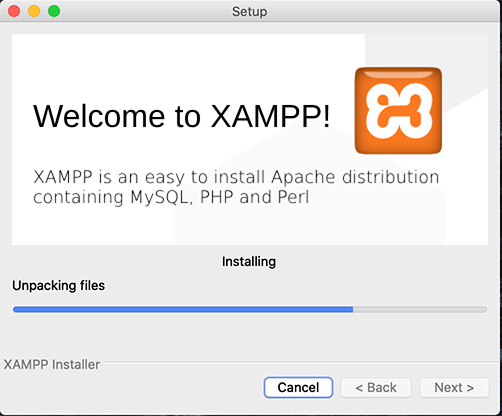
- The install will take a few minutes.
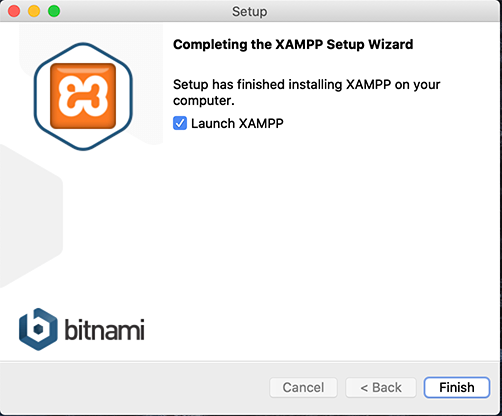
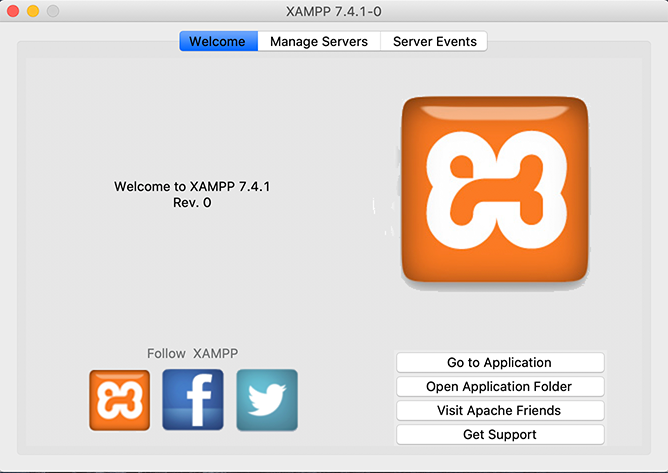
- When the installer is finished, click Finish to launch the XAMPP Manager (/Applications/XAMPP/manager-osx.app).
- When the XAMPP Manager (control panel) opens, click the Manage Servers tab.
- On the Manage Servers tab, select Apache Web Server and click Start button.
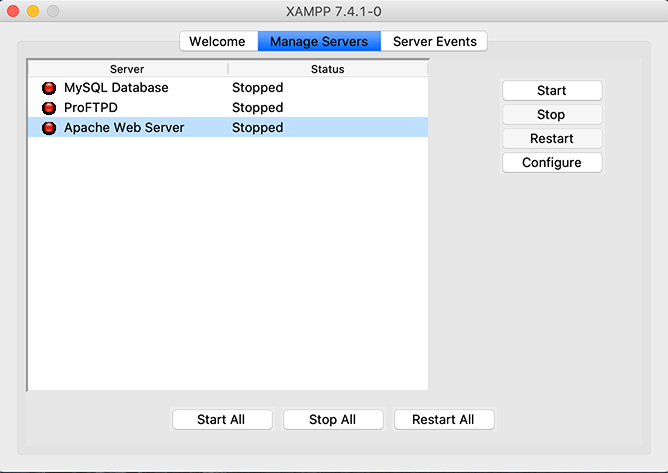
- Select MySQL Database and click Start button.
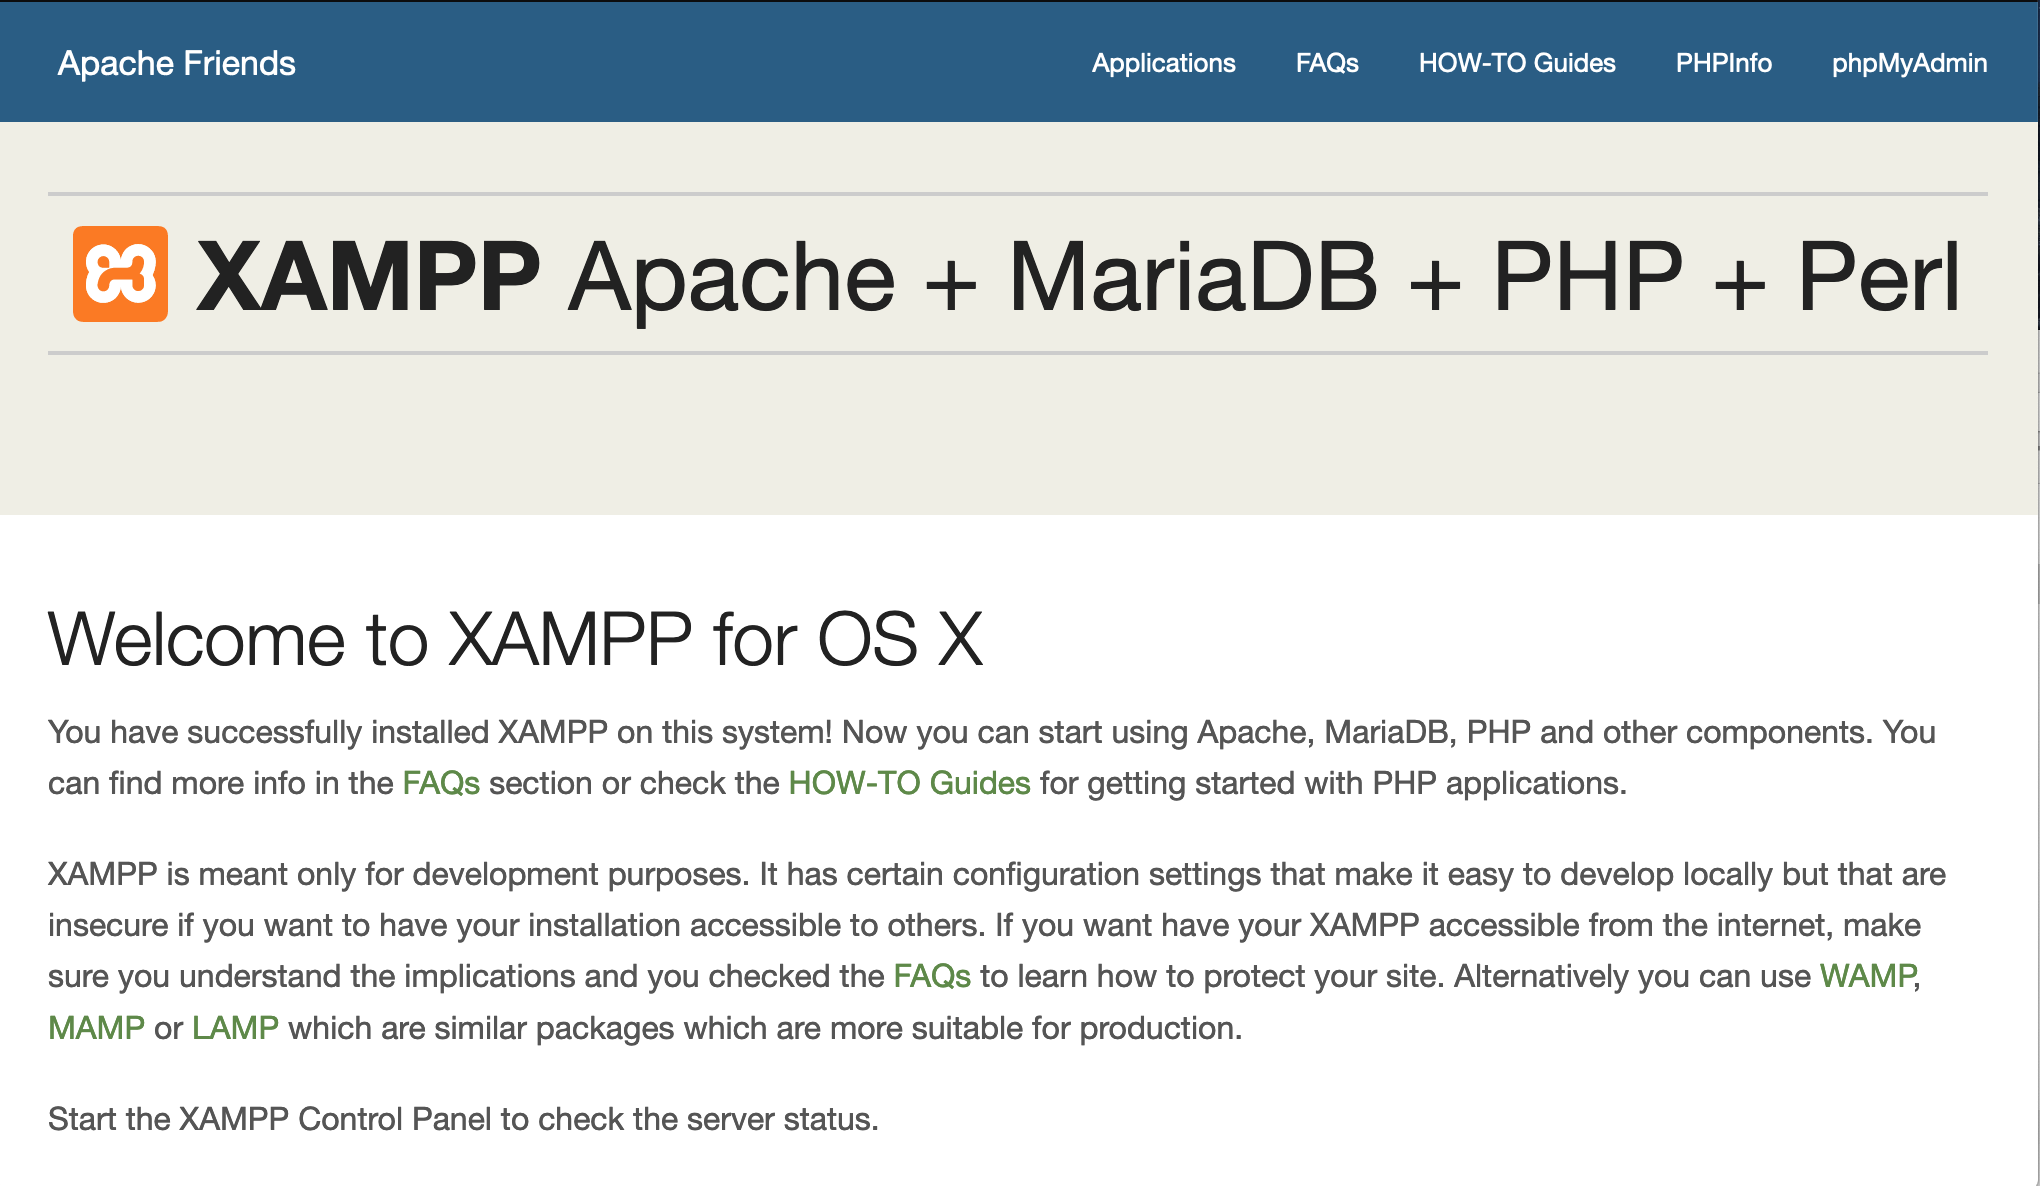
- To test the install, open a browser and type http://localhost in Address bar. If the install is successful, you will see the XAMPP dashboard page, similar to one shown below.
- Stop both Apache Web Server and MySQL Database servers in XAMPP Control Panel.
- With the XAMPP Control Panel still open, right-click manager-osx.app icon and choose Options > Keep in dock for future convenience.
- You are ready to Configure PHP.
- If you receive any error messages when starting the servers, review the XAMPP OSX FAQs page for help.